Round stickers in Photoshop
Creating Data
Photoshop Round Sticker
If you’ve browsed our sticker templates, you will surely have seen that we offer both Illustrator and Photoshop versions. Preparing your data up on the Illustrator templates is more straight forward due to the pre-setup round guides and trim marks. However, not everybody has access to Illustrator or has the time to learn the program. In Photoshop, because it is not possible to make custom shape guides, we are left straight up and down or left and right guides.
Round stickers in Photoshop
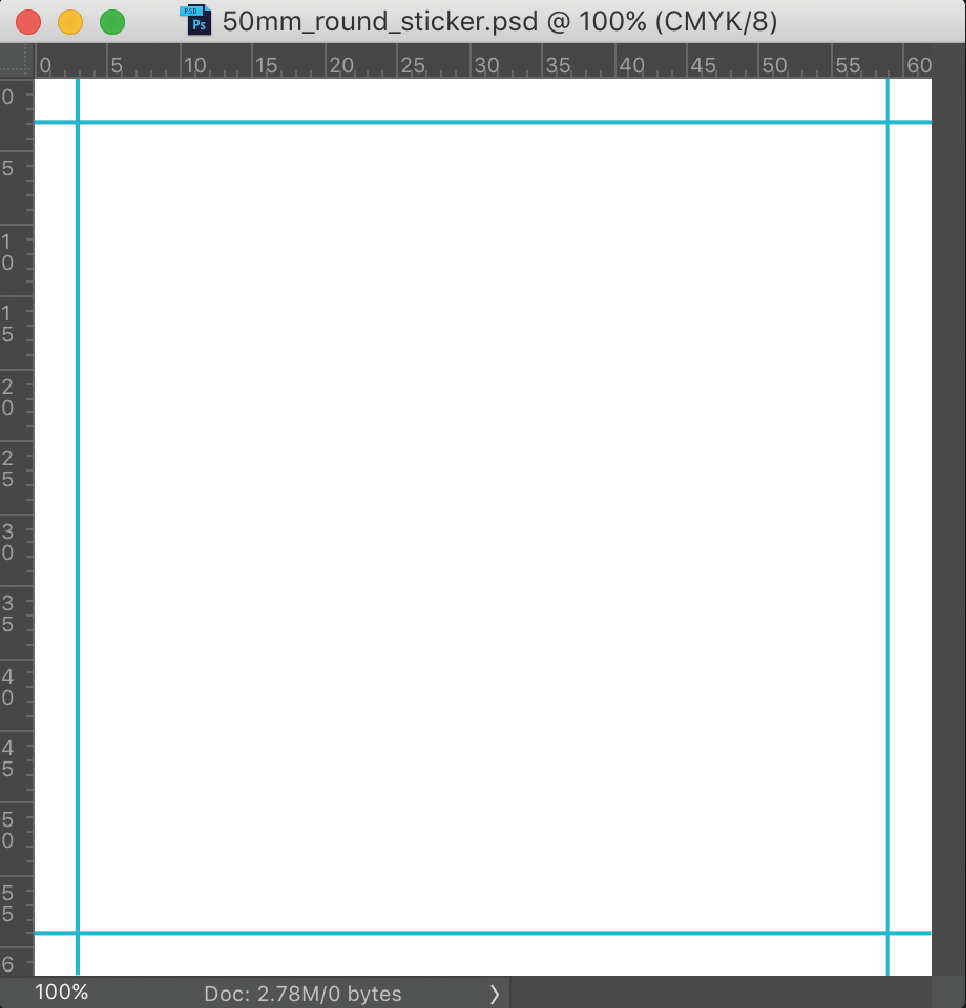
When you open our template, it will look something like this. The 4 guide lines you see show the trimming area.
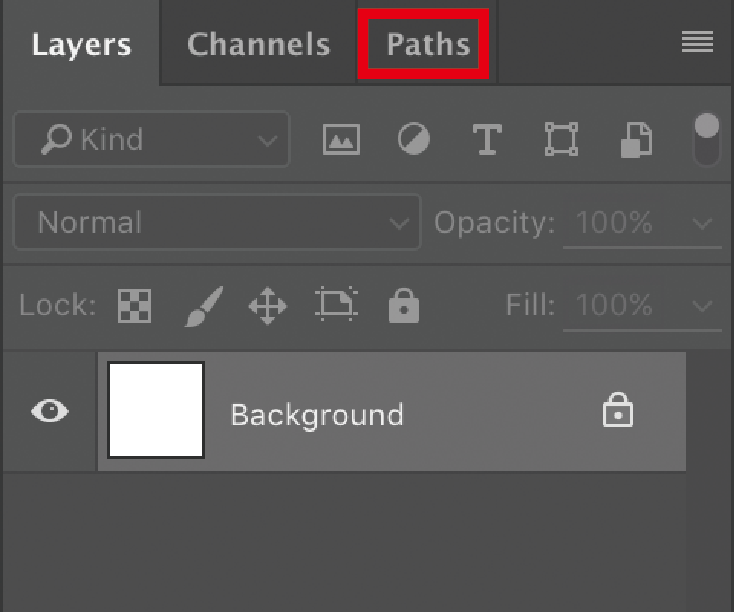
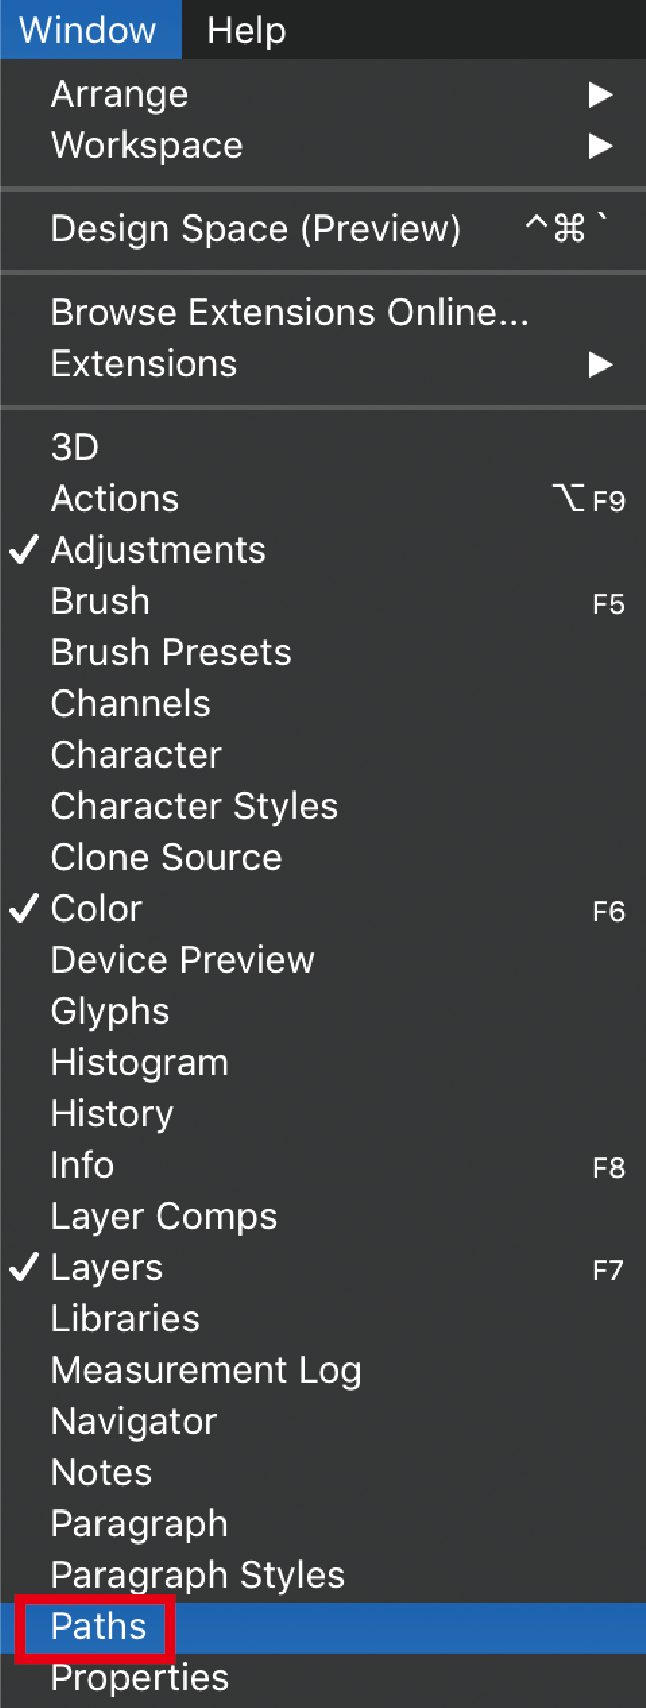
Click on the Paths palette (on the same window as the Layers palette). If it is not visible, choose: Windows > Paths
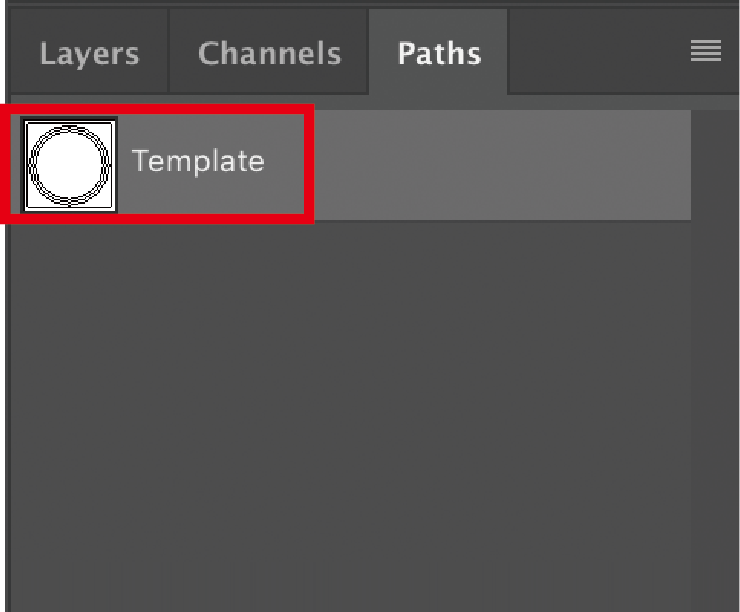
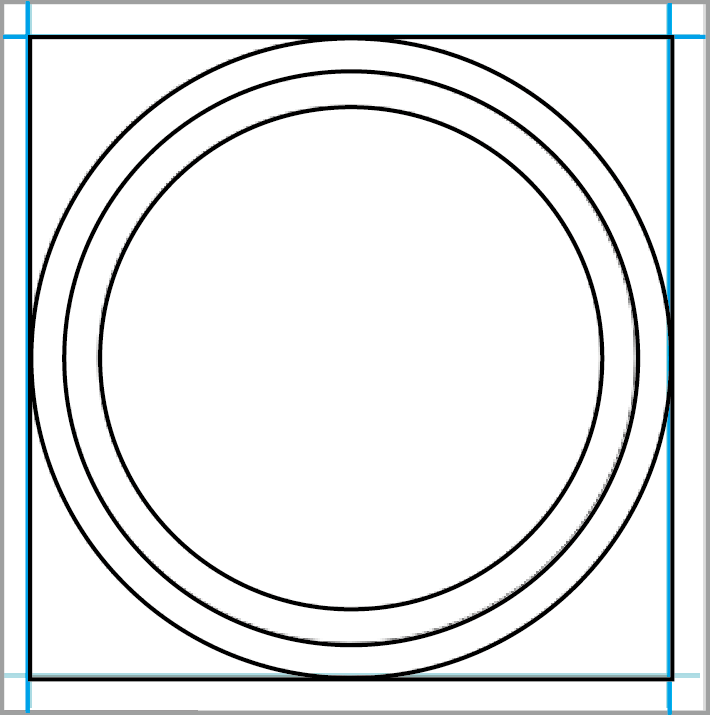
Our round stickers are kiss-cut round, but will arrive in a square shaped sheet. The kiss-cutting process uses a circular sharp metal die to cut only the adhesive sticker part, without penetrating through to the back paper liner. Because of the kiss-cut process, it’s important your data is setup properly on the template, to avoid disappointment.
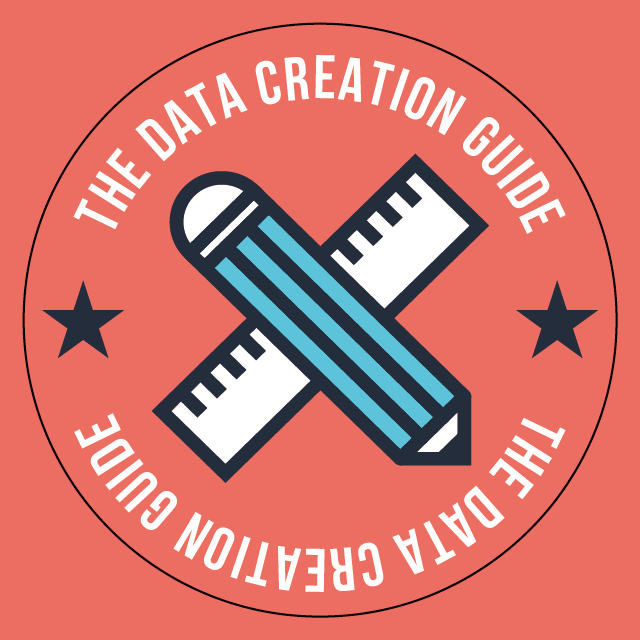
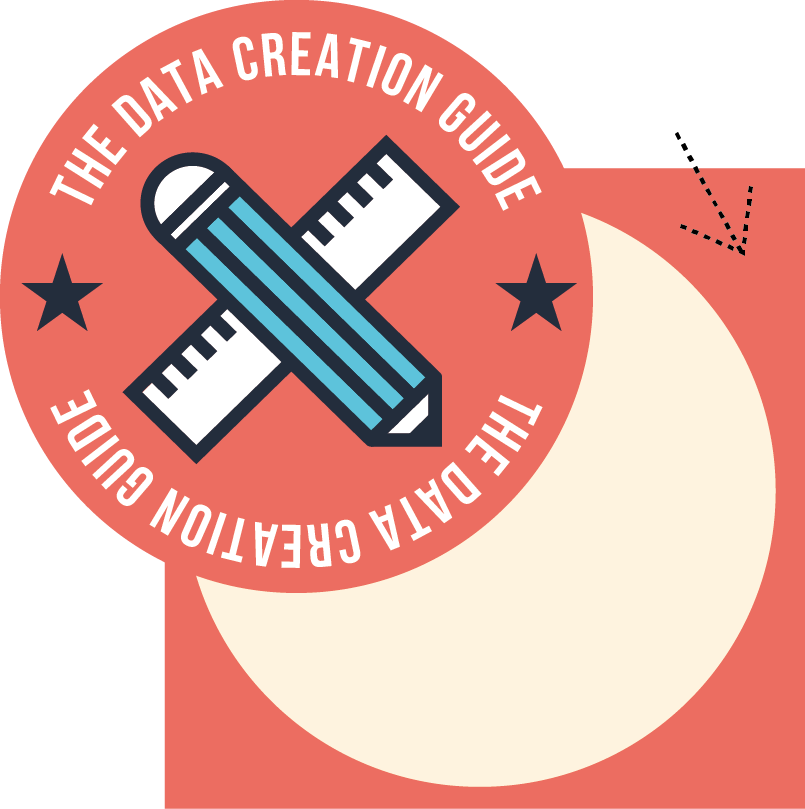

When setting up your design on the round sticker templates it is very important for your background colour or image to extend all the way to the square edge of the template.

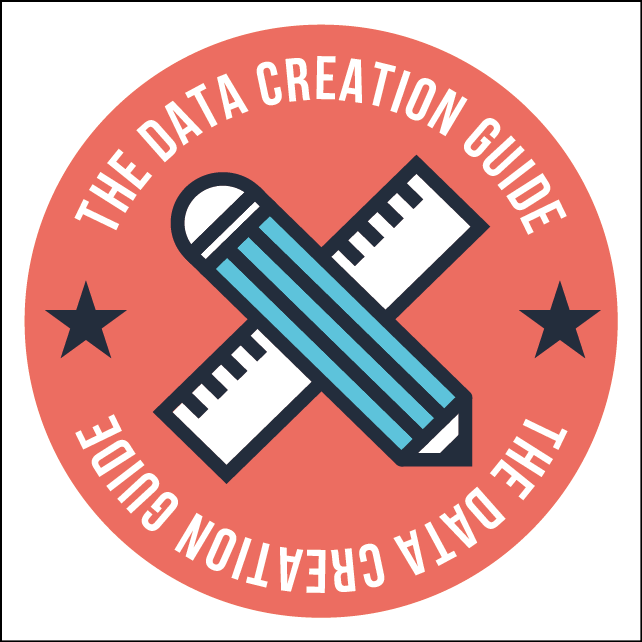
Designs without the full bleed may end up with unbalanced peel off stickers. The kiss-cut process is not a fully automated one, and there are some acceptable +/- margins of error should the kiss-cut be off-centre. On designs with a full bleed or background a slightly off-center cut is barely noticeable. However, on designs like the above, should the cut be off-center it will be more noticeable.


 info@metroprint.ph
 0945 826 3908
 0945 826 3908