What are trimming discrepancies?
Printing Basics
Trimming process and it lookouts
We print multiple customer data on large sheets of paper, at the same time. This is commonly referred to as ‘Combo Run’, ‘Combination Run’ or ‘Gang Run’ printing. Doing so we can maximise the number of data printed per sheet in order to minimise paper wastage and provide you with our best prices.
When it’s time to trim the printed pieces to their finished sizes, several hundred sheets of paper are stacked on top of each other to cut. The sheer pressure of the guillotine press and super sharp blade pressing down on the paper, may sometimes cause papers at the bottom of the stack to shift a little, slightly misaligning.
For the above reasons, there are trimming discrepancies of 2mm or less on regular paper products, and of 3mm or less for laminated finishing product. These discrepancies are within the acceptable +/- range, and are not eligible for refund or reprinting.
We always use much caution and safety measures to prevent unexpected issues when it comes to trimming, but we thank you for your understanding.
How to avoid partially trimmed text
When preparing your design be sure to keep all text, logos and important information within the Safety area. The Safety is an area 3mm inside of the trim line on each side. In our Illustrator and Photoshop Templates this area is marked by the innermost guide lines.
Please note: If you have placed text really close to the edge of your artwork, there’s a good change it may get cut off during the trimming process. At a minimum we request keeping all content 3mm away from the trim line.
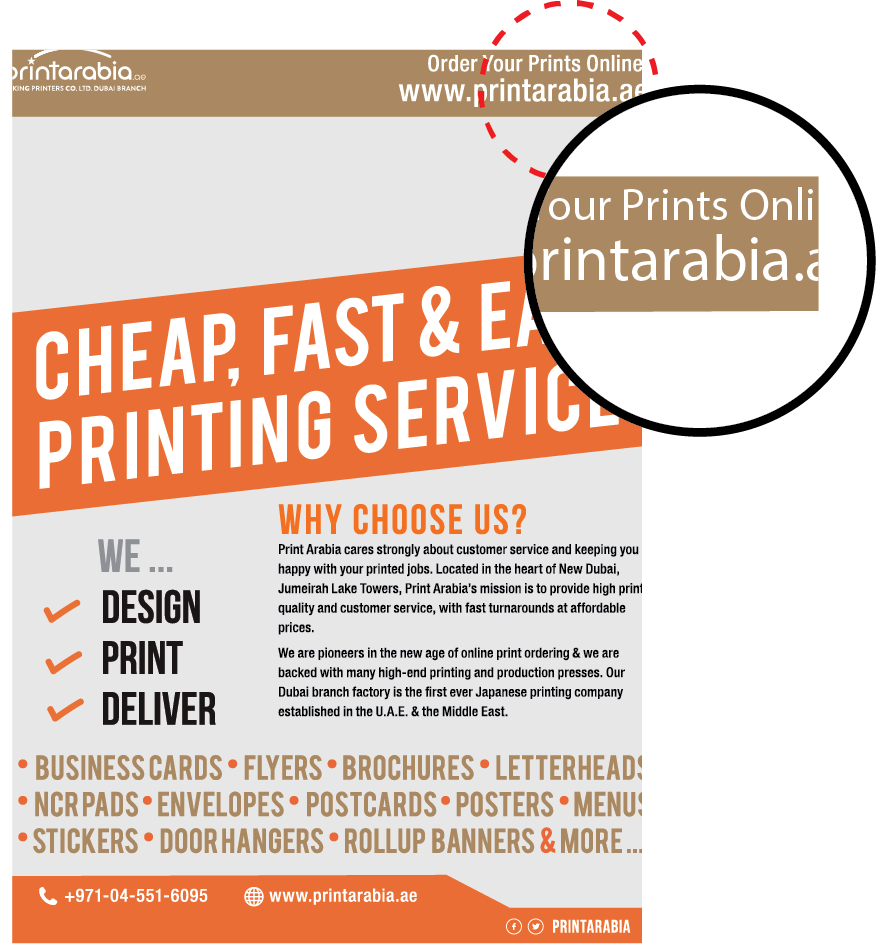
When text is too close to
or on the trim line
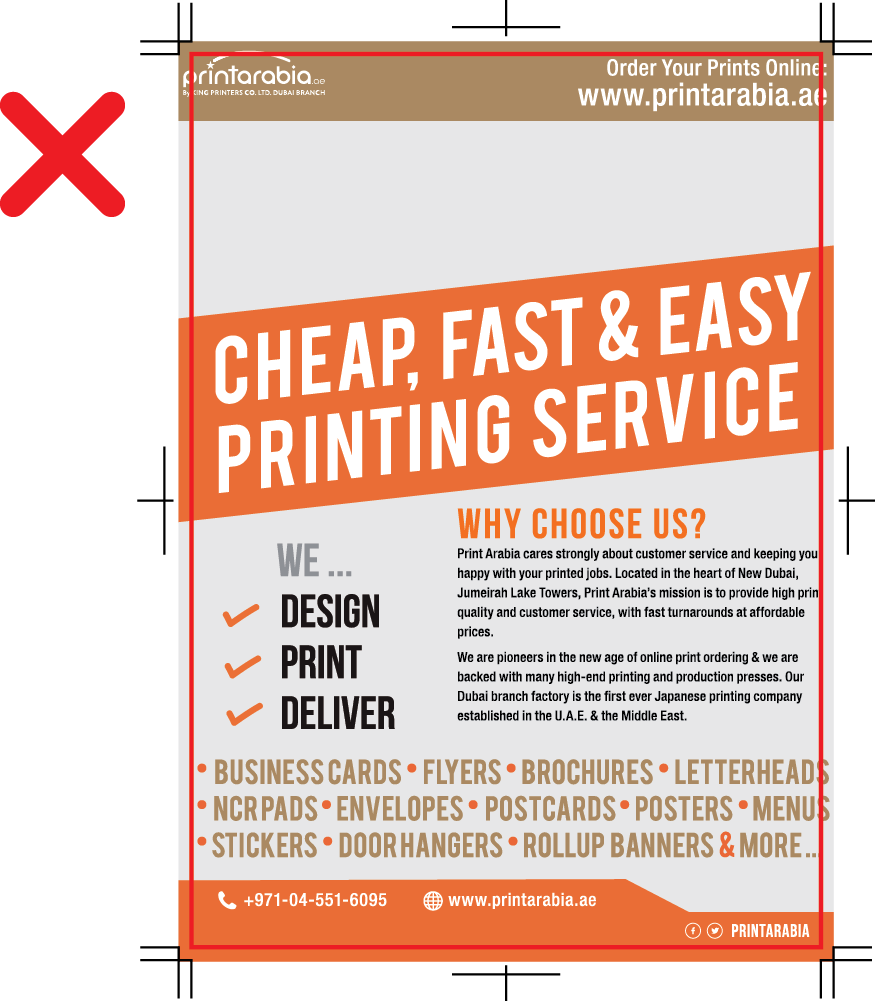

It is trimmed off
from the flyer!
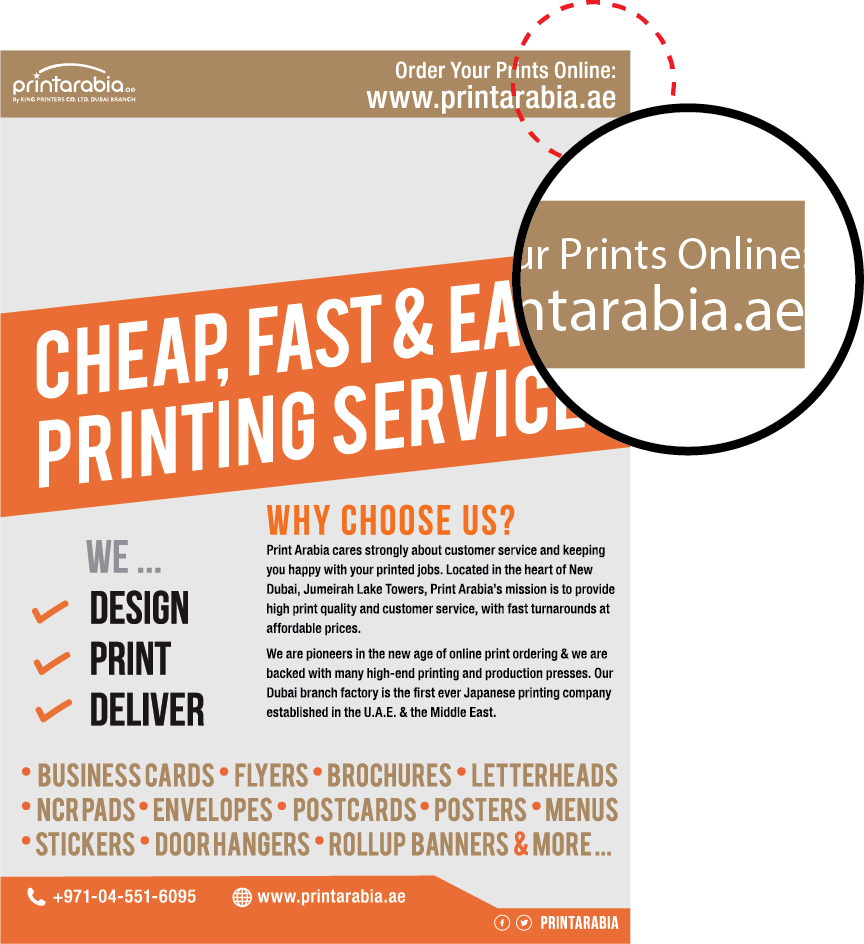
When text is at least 3mm
inside of the safety area
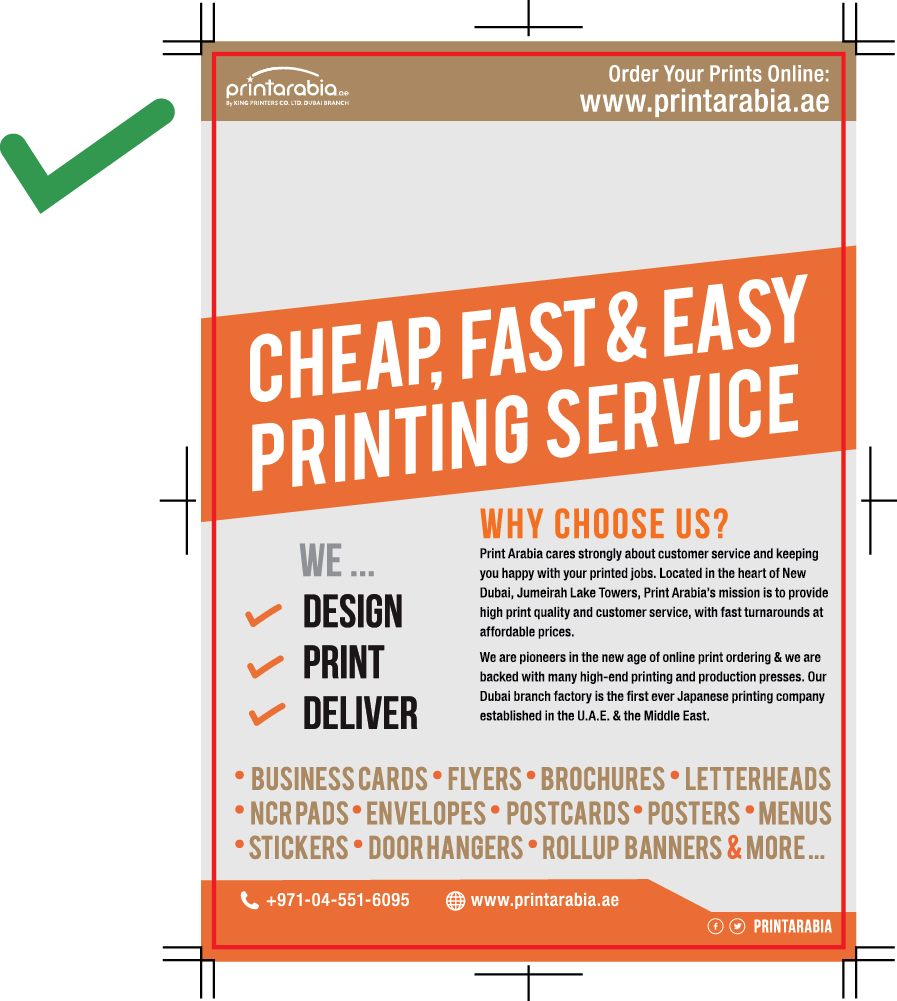

All text, logos and contents
come out perfectly.
Bleed
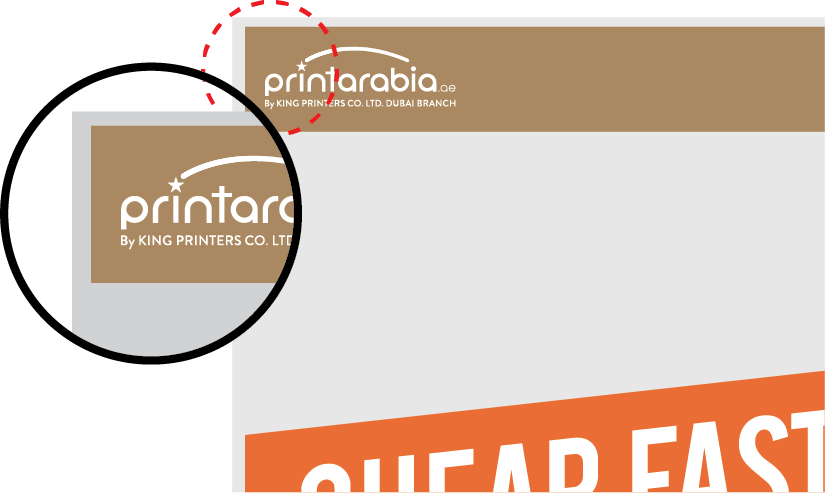
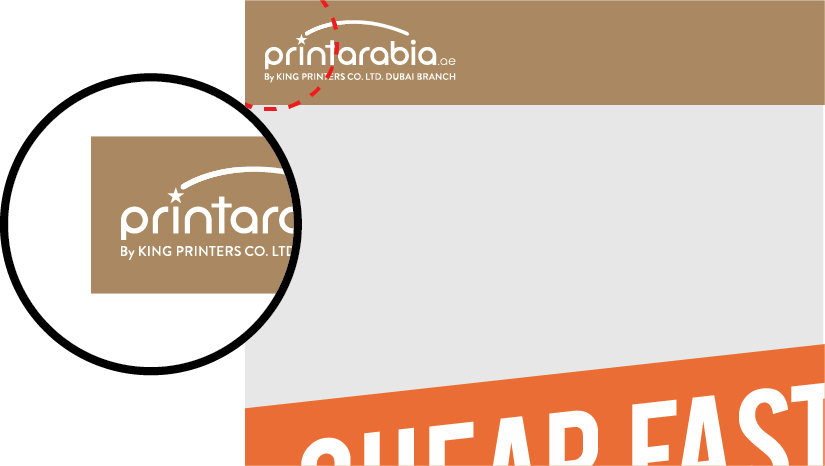
Because the trimming process is not 100% precise, your artwork needs to be a little bigger on all sides to ensure there is no white (unprinted) paper at the edge, should the trimming be off center. This extra portion is called bleed.
To add bleed, you take the final size of your product and add 3mm to each side (left, right, top, bottom). For example: Manila, Philippines standard business cards are 90x50mm. Including bleed, the size would be 96x56mm
When artwork is missing the required 3mm bleed, during the trimming process you may end up little thin white lines one the sides. These white lines are unprinted paper. To prevent this from happening, please make sure to extend the background colour / image of your artwork an additional 3mm in each direction when preparing your data.
No Bleed
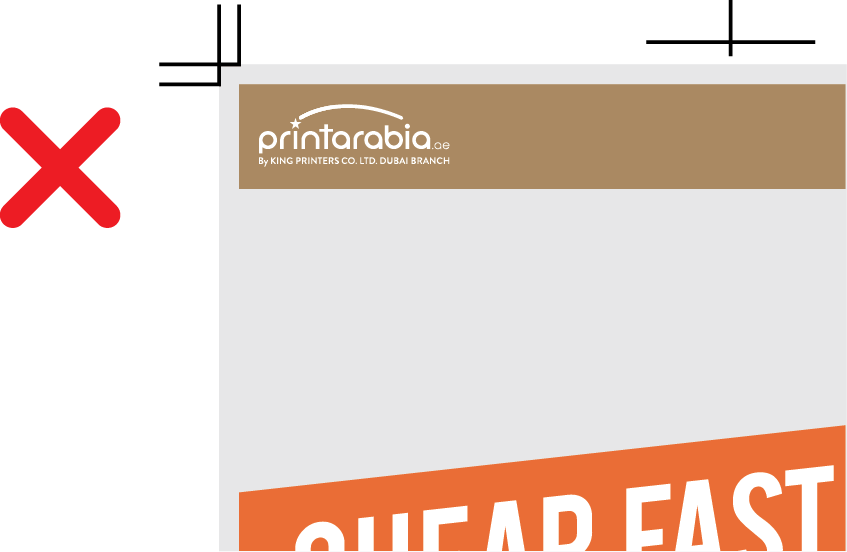

You end up with white borders
With Bleed
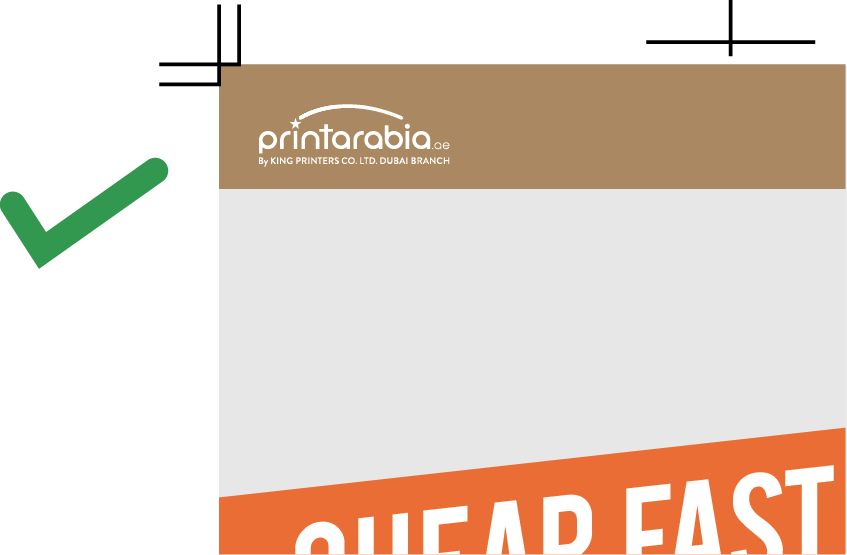

Perfect edges,
every time!
Avoid border edge designs
During trimming, hundreds of sheets are stacked and cut in one go. In this process, the cut sheets may shift up to about 3mm or so. If your design has borders too close to the edge, there is a greater one side getting cut too close or far away, causing your design to look uneven or unbalanced.
Because of this, when possible, we recommend to avoid using border designs. If you do, however, want to use a border design, the border would need to be at least 6mm inside of the cut line on all sides.


 info@metroprint.ph
 0945 826 3908
 0945 826 3908