Ticket printing
Tips & Tricks
Ticket printing
Ticketscan be large or small, square or rectangular, printed one side or both, with or without a tear off portion. They are extremely flexible marketing tools with a very wide range of uses, so it’s not uncommon to see them at musical events, festivals, corporate events, or fundraisers. Other possible uses include sporting events, parties or even raffles.Ticketsare easy to customise and the possibilities are endless.
Do you want to make food or drink vouchers, try adding a perforation or two to yourticket. Do you need to sell tickets at the door? Add sequential numbering and a perforation. Do you have a gala or fundraiser coming up? Spruce up your ticket design with a beautiful gold foil with Spot UV on a double pasted card. Concert or other big event? Try an anti-counterfeit foil strip on the front or back side, to prevent anyone from trying to copy their way in.
Let Metro Print help find the right ticket for you.
Below is an illustrated guide to the 5 available standard sizes.
Ticket Sizes

S (50x160mm)

M (60x180mm)

L (70x200mm)

LL (76x210mm)

DL (99x210mm)
Adding a perforation to your artwork
First, lets open up one of our ticket templates. Each template comes setup with the required trim marks and guides, so all you need to do is just set your design up. If you do not see these guides, you must first enable your guides. From the View menu, choose Guides > Show Guides.
Front

Back

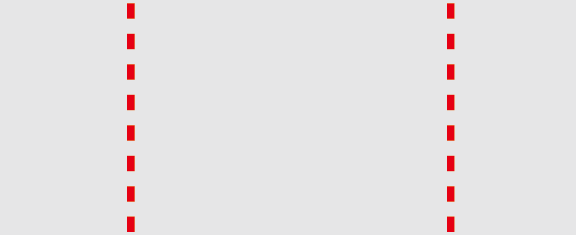
Lets say you want to add a perforation line to your artwork file before completing your design. The way to do it is pretty straight forward. You will need to add small line indicators, on the outside of the bleed area. Pick a location for your perforation line, then add the necessary indicators for the position. If you want to go one step further, you can add a guide line in between your indicators, as a visual reminder of where the perforation is to happen (it’s helpful when creating your design).
Perforation line indicators

Perforation line indicators
Preparing ticket data with perforations
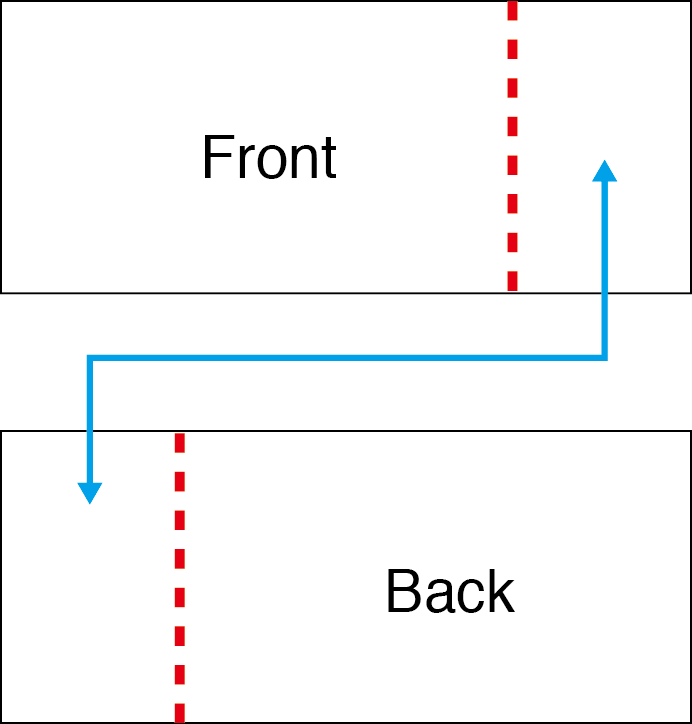
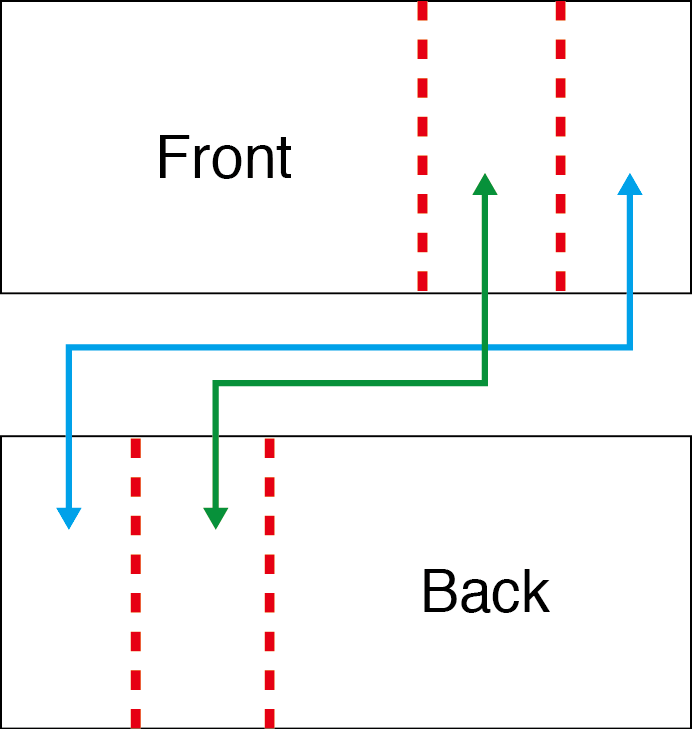
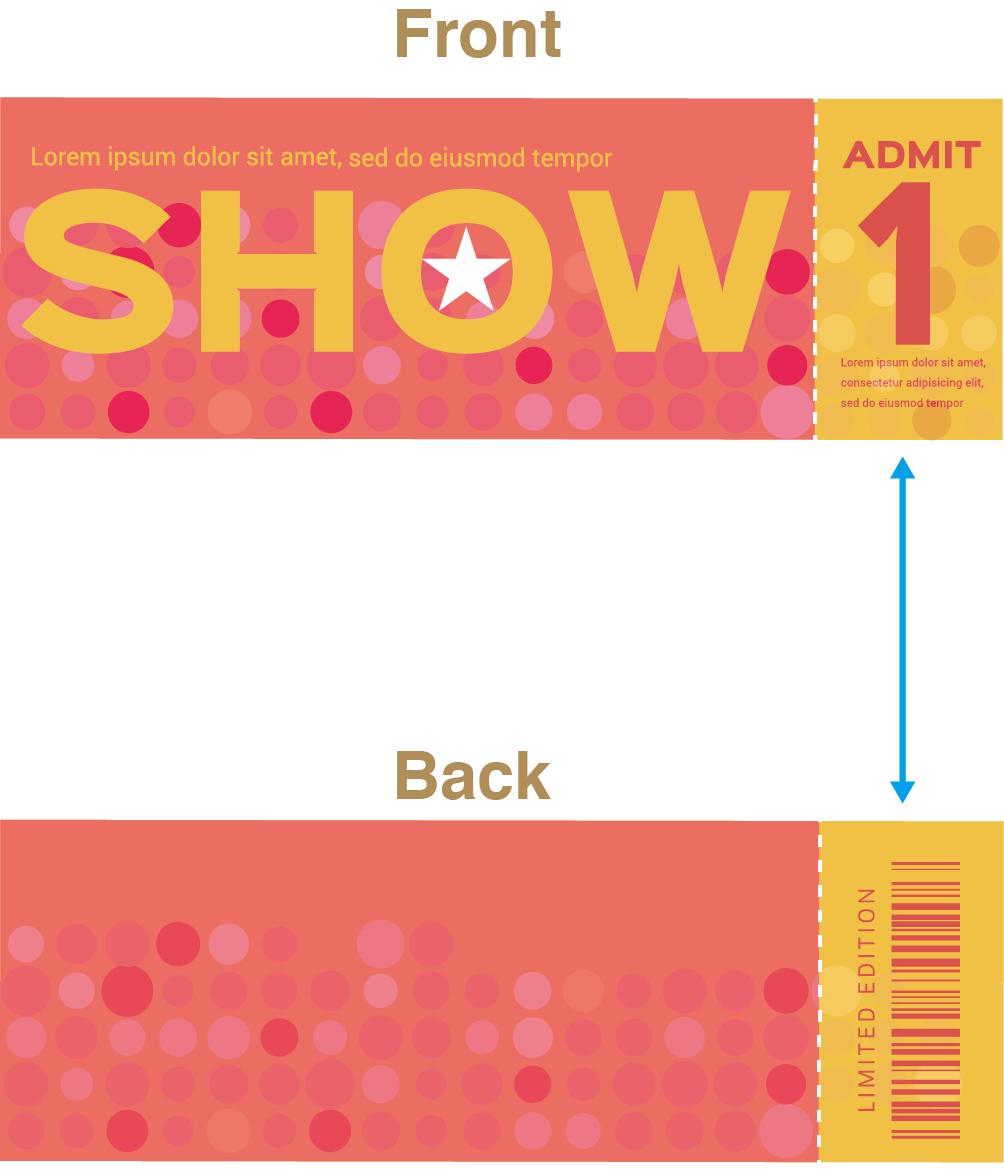
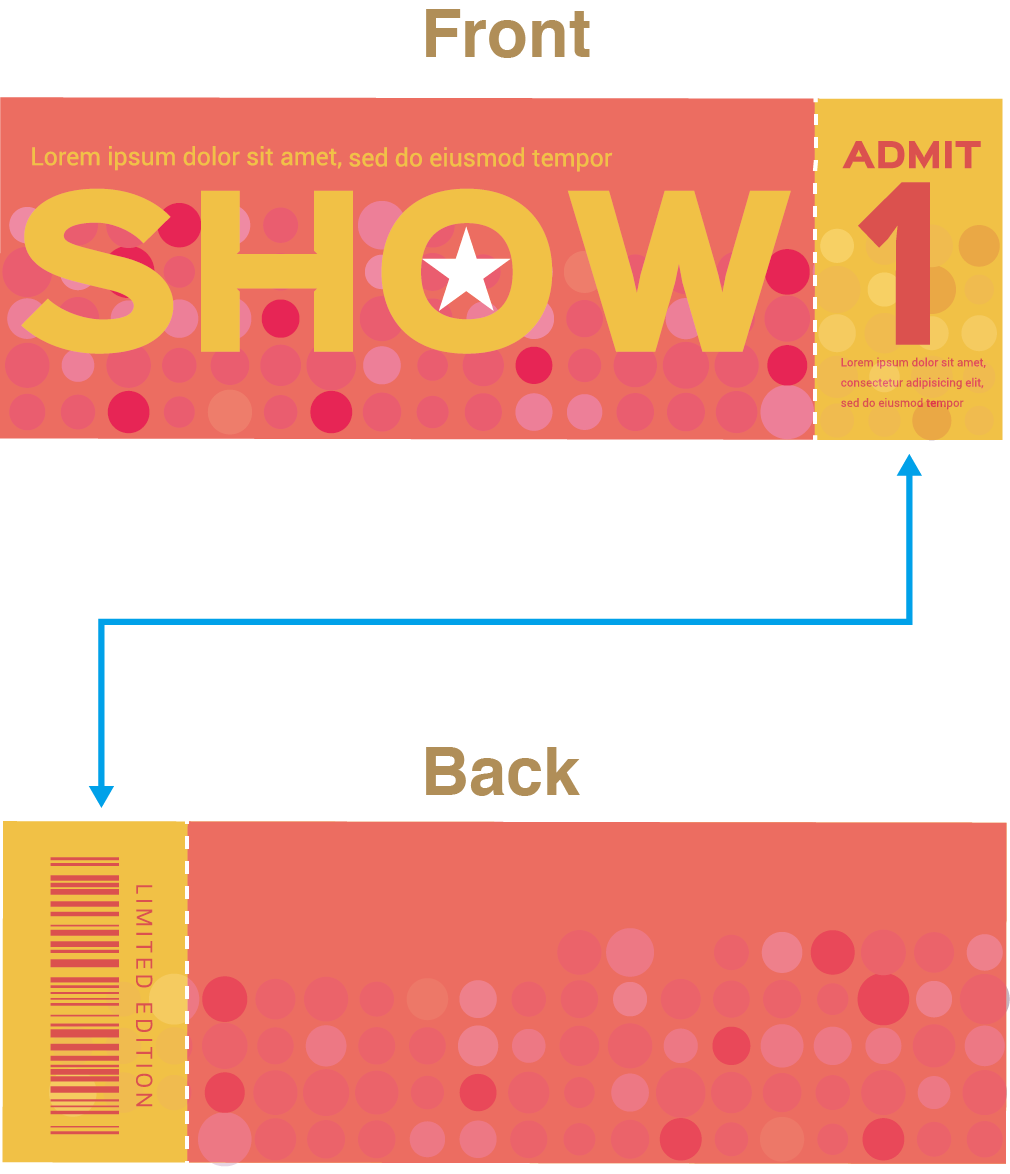
A common mistake when setting up ticket artwork with perforations is the positioning of the artwork for the front side and the back side are the same. When preparing your artwork it is important to remember that printing sheets are turned over horizontally (left to right),in the same manner you would turn the pages of a magazine or catalog.
Take a look at the following examples.
One Stub
Parallel Stub
Double Stub
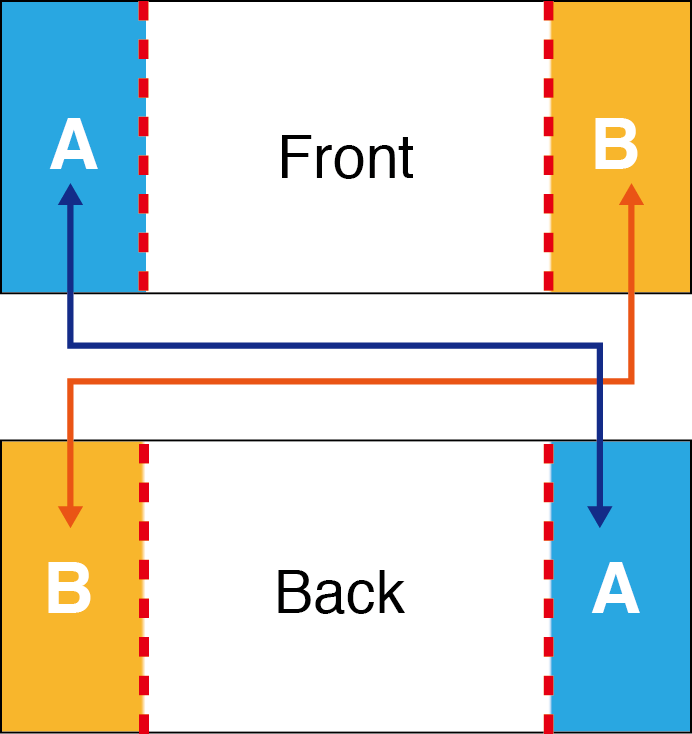

The layout of the back side has the perforation on the same side as the front.
When you turn the ticket over from front to back the ticket position moves from right to left.
Please note:It is your responsibility to make sure the front and back sides of the stubs are corresponding each other. This check is excluded from our data checks before printing.






 info@metroprint.ph
 0945 826 3908
 0945 826 3908